Laitance Removal Guide: Ensuring LVT & Vinyl Adhesion on Anhydrite Screed
Laitance Removal Guide: Ensuring LVT & Vinyl Adhesion on Anhydrite Screed
In the retail sector, LVT and Vinyl are favored for their durability and aesthetics. However, these non-breathable finishes are highly sensitive to subfloor quality. For anhydrite (calcium sulphate) screeds, the primary obstacle to a successful installation is laitance.
1. What is Laitance and Why is it a Risk?
Laitance is a weak, friable layer of fine particles that rises to the surface as the liquid screed cures.
The Structural Risk: If left in place, this "crust" acts as a barrier. Adhesives will bond to the laitance rather than the solid screed slab. Under the pressure of retail footfall or trolley wheels, the laitance can delaminate, causing your LVT or Vinyl to bubble, crack, or lift.
The Drying Risk: Laitance seals the surface. The Screed Scientist notes that leaving laitance on the floor can significantly extend drying times by preventing moisture from evaporating.
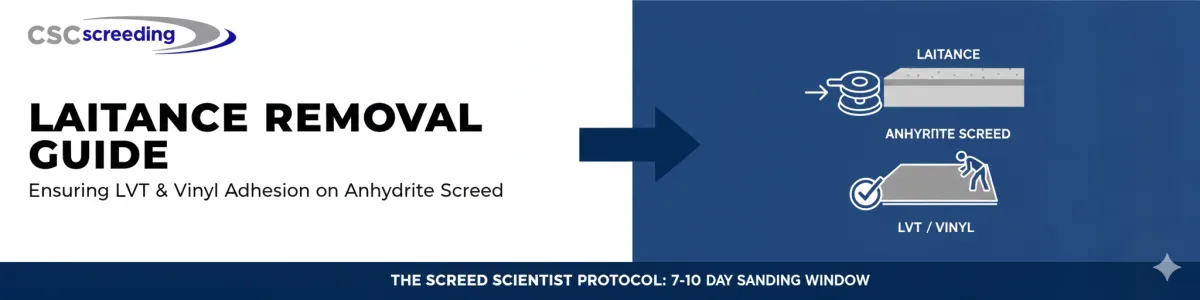
2. The Screed Scientist Timeline for Removal
Timing is everything. You want to remove the laitance when it is soft enough to abrade easily but the screed is hard enough to walk on.
Ideal Window: Mechanical sanding should take place between 7 to 10 days after the pour.
The Penalty for Delay: If left for several weeks, the laitance hardens into a "glassy" finish. Removing it later requires much more aggressive (and expensive) diamond grinding rather than standard sanding.
3. The CSC Protocol for Laitance Removal
To guarantee that retail floor coverings adhere correctly, we follow a strict three-step preparation process:
Step 1: Mechanical Abrasion
We use a floor sanding machine (typically with a 60-grit sandpaper or a medium-grade abrasive disc) to lightly sand the entire surface.
Goal: To remove the dusty surface layer and expose the "aggregate" beneath. This creates a "mechanical key"—a slightly roughened surface that adhesives can grip onto.
Step 2: Industrial Vacuuming
Sanding creates fine dust. Even a thin film of dust can act as a bond-breaker. After sanding, the floor must be thoroughly cleaned using an industrial-grade vacuum with HEPA filtration to ensure the surface is clinically clean.
Step 3: Moisture Verification
Before any LVT is laid, the screed must be tested. The Screed Scientist mandates the following moisture statistics:
The Requirement: Moisture content must be <0.5% (measured via Carbide Bomb) or <75% Relative Humidity (RH).
Note: For retail units with Underfloor Heating (UFH), this requirement is even stricter, often needing to reach <0.3% moisture content before the final commissioning.
4. Priming: The Final Bond
Once the laitance is removed and the floor is dry, a specialist primer is required. Anhydrite screeds are chemically different from cement-based adhesives used for LVT.
The Science: Without a primer, a chemical reaction (ettringite formation) can occur between the sulphate in the screed and the cement in the adhesive, leading to total bond failure.
Action: Apply a high-quality acrylic or epoxy primer to seal the screed and ensure a compatible surface for the LVT adhesive.
The Verdict for Retailers
Managing laitance is not an optional "extra"—it is a fundamental requirement of the British Standards for floor installation. By sanding within the 7–10 day window, you ensure your retail space has a floor that can withstand years of high-traffic use without the risk of the LVT lifting.
